A little bit of a tutorial. I have a winter themed quilt that I have been pondering what should I quilt on it. And after months of it being on hold yesterday I decided to quilt snowflakes on it.
But how was I going to do this ...hmmmm.

As a child we all learned how to make paper snowflakes and I thought why not.
Sew I measured my space that I wanted to cover and cut a square of paper just a bit smaller these are about 12"
Note ...... I used a light paper with a wax backing you could use frezzer paper as well.
 |
| in half or quarters |
 |
| in half |
fold in half
and fold again
 |
| First side,triangle fold |
next fold the out side edge in, turn over and do the other side to reduce the bulk at the center point, to create a triangle
 |
| folded in on both sides |
Next I stapled the triangle in a couple spots to prevent shifting when cutting.

Draw and cut or just cut and see what happens
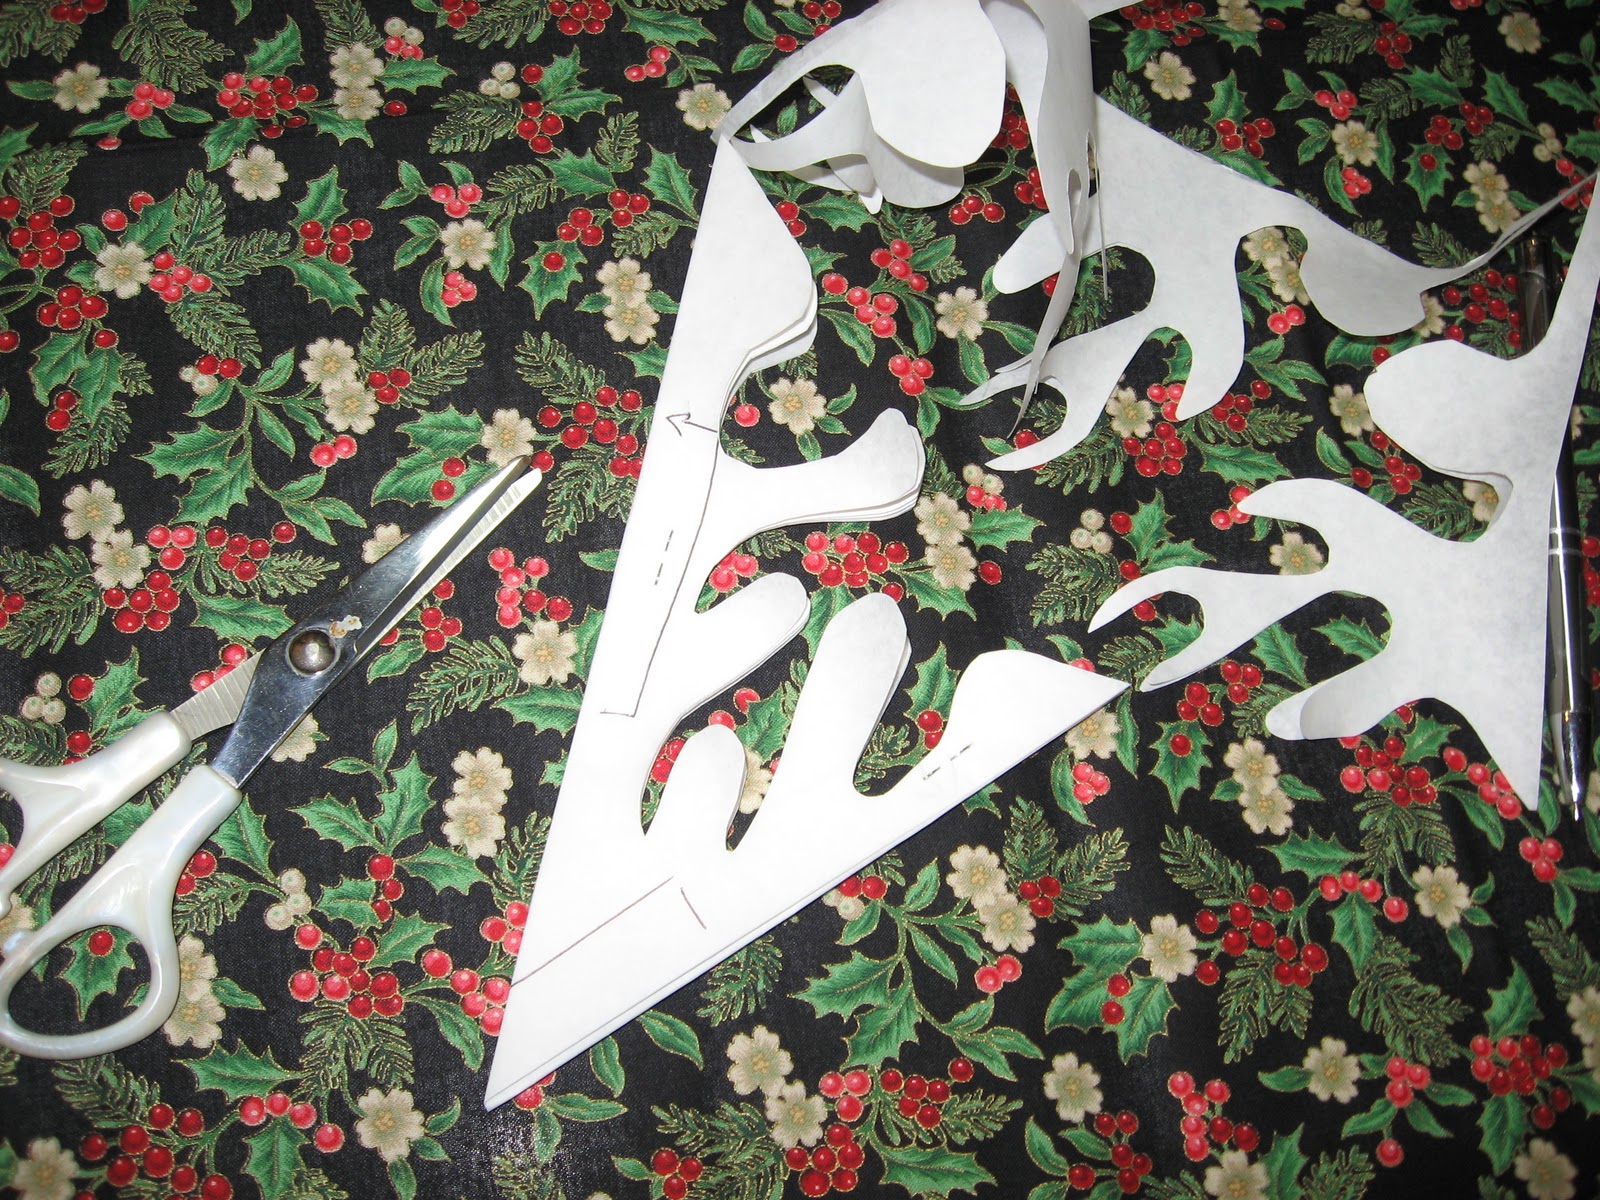 |
| free form cutting remeber to add somethng to the center of your snowflake |
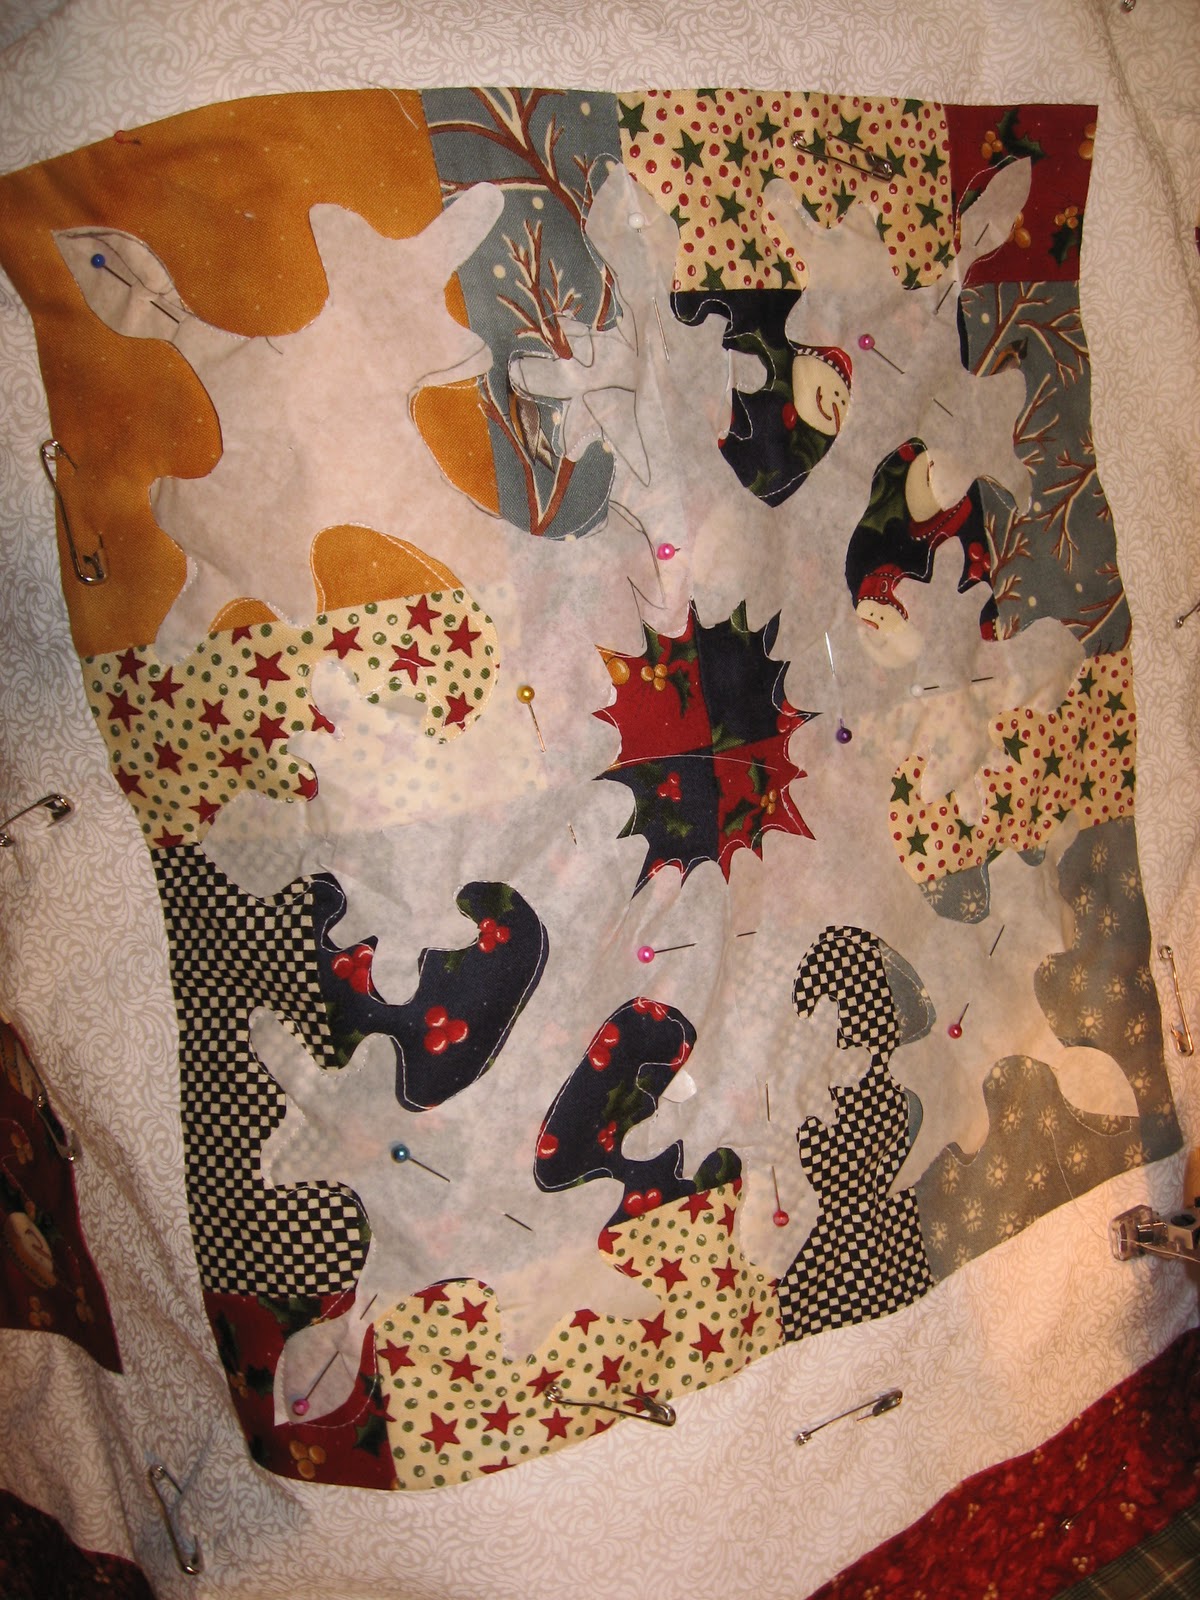
open and see what you have created
 |
| thick soft edges for easy quilting... sharpe edges are great just stitch slower |
Center the snowflake wax side down using the creases to help you center it on you seams with in the block. Press in place.
 |
| ready to stitch |
 |
| at the machine |
 |
| Quilted Snowflake |
Your lines do not have to be purfect , as a snowflake melts it changes . Remember to have fun making your snowflakes.
Happy stitching
Enjoy the Snow
In Stitches
Annette
That's a beautiful idea. thank you for sharing
ReplyDeleteO that is SWEET! ; )
ReplyDelete~Monika
What a cute idea Annette , Great tutorial on making the snowflakes too. I use freezer paper for this kind of thing and it works great , what type of paper is this? It looks thinner .
ReplyDeleteWe are in for a snow storm tomorrow , I do love the snow .
Such a great tutorial! Thanks for that : ) Photos make the best instructions.
ReplyDeletethanks for linking, and I hope it brings some extra traffic your way. : )
~Monika